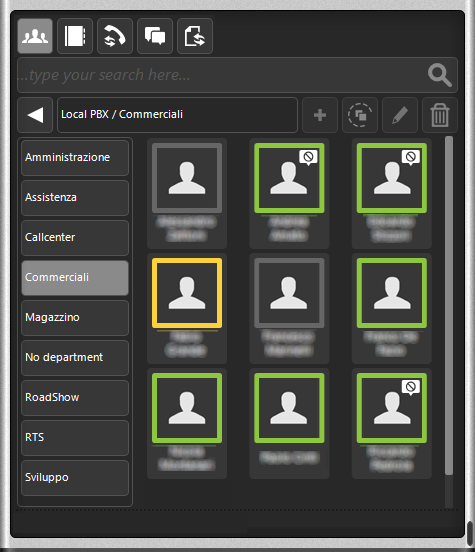
The extensions of your company are displayed in the GUI in the section relating to users and accessible with the C VOI users title button  in the upper area of the GUI. In addition to displaying the status of the extensions, the GUI groups them rationally, organizing them according to the departments defined by the switchboard administrator when creating the user.
In this section you can see the users of your switchboard and of any other remote switchboards connected via the internet. Within each switchboard (the local one is identified as a local PBX), users are organized into predefined departments (which cannot be changed). On the left you can see the list of switchboards and departments: by selecting one of them you will see the users belonging to that group. Finally, by selecting a particular department, you will see the users belonging to it. The departments created by the administrator will be automatically downloaded from the PBX when the GUI is started. If a user is not assigned to any department they will be placed in the No Department group. The departments can be managed through a dedicated toolbar displayed below. The toolbar displays the current PBX and department (in typical network path notation) and has other tools that we will see later. |
 |
ADD CUSTOMIZED GROUPS (DEPARTMENTS)
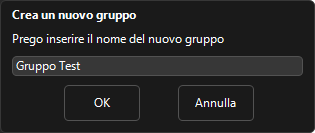
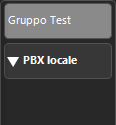
The GUI offers the possibility to create customized groups (departments) in order to insert some desired users (perhaps those who are called most often). To create a group you need to view all the departments by clicking on the  button on the departments toolbar. At this point, click on the button on the departments toolbar. At this point, click on the  button on the toolbar and assign a name to the new group (see figure on the side). button on the toolbar and assign a name to the new group (see figure on the side). |
 |
To insert users in the customized groups, at this point it is sufficient to search for the desired users and select them (also through multiple selection, holding down the CTRL key). Then click on the copy button gui button copy  : at this point a list of the customized groups will be shown and it will be necessary to choose the desired destination group.
DELETE EDIT A CUSTOMIZED GROUP (DEPARTMENT)
To delete a customized group (department), view all departments by clicking on the  dbutton on the department toolbar, select the group to be deleted and click on the trash button dbutton on the department toolbar, select the group to be deleted and click on the trash button  . .
To change the name of a custom group, view all departments, select the desired group and click on the edit button gui button edit 
Attention: the users present in the group will be deleted with it, while the users present in the predefined groups will never be deleted.
|
 |
 in the upper area of the GUI. In addition to displaying the status of the extensions, the GUI groups them rationally, organizing them according to the departments defined by the switchboard administrator when creating the user.
 : at this point a list of the customized groups will be shown and it will be necessary to choose the desired destination group.


 dbutton on the department toolbar, select the group to be deleted and click on the trash button
  .
.
